
Taking money is the point where a side project turns into a business. It is also the point where I see the most nervous founders. That makes sense. Payments feel high stakes, and the Stripe docs are long.
The good news is that the setup for a typical Lovable app is the same almost every time. I have done it enough that I follow the same order every build. This post walks through that order.
I am assuming you already have a Lovable app connected to Supabase with working login. If you do not, start there first.
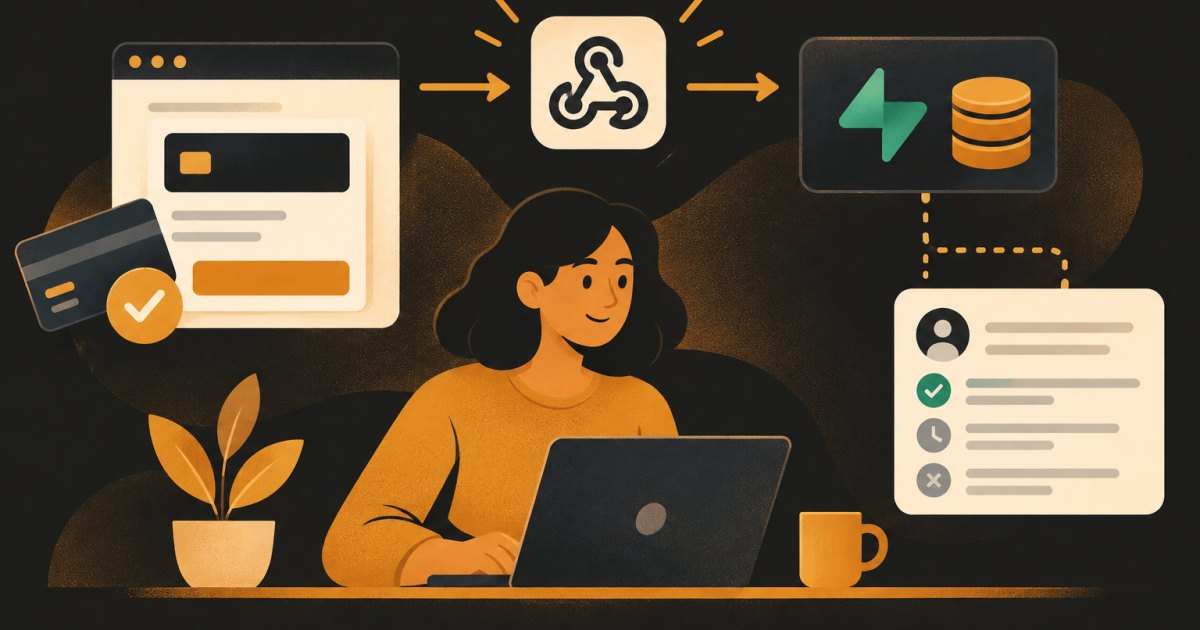
How the pieces fit together
Before you prompt anything, understand the flow. It has four parts:
- Your app shows a pricing page with a button.
- A Supabase Edge Function (server side code) creates a Stripe Checkout Session and sends the user to Stripe's hosted payment page.
- Stripe collects the card and processes the payment.
- A second Edge Function receives a webhook from Stripe saying the payment succeeded, and updates your database.
Your app then reads the database to decide what the user can access. The important part: your app never decides on its own that someone paid. Stripe tells your server, and your server writes it down.
Lovable also has its own Stripe integration that can set much of this up for you. Whether you use that or prompt it by hand, the same four parts are there, and you should know what each one does so you can test it.
Step 1: Decide what you are selling
Pick one of these before you touch Stripe:
- One time payment. Pay once, get access. Simple.
- Subscription. Monthly or yearly. More setup, because you have to handle renewals, failed cards, and cancellations.
If you are not sure, start with one subscription plan at one price. You can add tiers later. Three tiers on day one usually means three times the testing and no extra customers.
Step 2: Set up Stripe in test mode
Create a Stripe account and stay in test mode for this whole build. In the Stripe dashboard:
- Create a Product (for example, "Pro Plan").
- Add a Price to it (monthly recurring, or one time).
- Copy the Price ID. It starts with
price_. - Copy your test Secret Key from the Developers section. It starts with
sk_test_.
Stripe's fees vary by country and payment method, so check current pricing on their site before you set your own price.
Step 3: Store the secret key in the right place
This is the step people get wrong. Your Stripe secret key must never be in your frontend code. Anyone can open the browser developer tools and read it.
Put it in Supabase as an Edge Function secret. In Lovable, when a function needs a secret, it will usually prompt you to add it through a secure form. Name it something clear like STRIPE_SECRET_KEY. The publishable key (starts with pk_) is safe in the frontend, but with hosted Checkout you often do not need it at all.
Step 4: Add a subscriptions table
You need somewhere to record who paid. A simple table works:
create table subscriptions (
  id uuid primary key default gen_random_uuid(),
  user_id uuid references auth.users not null,
  stripe_customer_id text,
  stripe_subscription_id text,
  status text,
  current_period_end timestamptz,
  updated_at timestamptz default now()
);
Turn on Row Level Security. Users should be able to read their own row. They should not be able to insert or update it. Only your webhook function, using the service role on the server, should write to this table. If a user can update their own status column, they can give themselves a free account.
Step 5: Create the checkout function
Prompt Lovable with something close to this:
Create a Supabase Edge Function called create-checkout. It should
require a logged in user, create or reuse a Stripe customer for that
user, and create a Stripe Checkout Session in subscription mode using
the price ID I provide. Pass the Supabase user id in the session
metadata. Set success_url to /billing/success and cancel_url to
/pricing. Return the session URL. Use the STRIPE_SECRET_KEY secret.
Then wire the Upgrade button on your pricing page to call that function and redirect to the URL it returns.
Step 6: Create the webhook function
This is the part that actually grants access. Prompt for a second function:
Create a Supabase Edge Function called stripe-webhook. Verify the
Stripe signature using the STRIPE_WEBHOOK_SECRET secret and reject
any request that fails verification. Handle these events:
checkout.session.completed, customer.subscription.updated,
customer.subscription.deleted, invoice.payment_failed.
Upsert the subscriptions table by user_id with the current status
and current_period_end.
Signature verification is not optional. Without it, anyone who finds your webhook URL can send a fake "payment succeeded" event.
Then in the Stripe dashboard, add a webhook endpoint pointing at your function's URL, select those same four events, and copy the signing secret (starts with whsec_) into Supabase as STRIPE_WEBHOOK_SECRET.
One more setting: webhook functions need to accept requests that do not carry a logged in user's token, since Stripe is the one calling. Make sure JWT verification is turned off for this one function only, and that signature verification is doing the security work instead.
Step 7: Gate features by status
Now your app can check the subscriptions table. A user with status active or trialing gets the paid features. Everyone else sees an upgrade prompt.
Do the check in two places: in the interface (to hide or show features) and in the database or functions (to actually block access). If you only hide a button, a determined user can still call the data directly. Your RLS policies or server functions should enforce paid access for anything that matters.
Step 8: Add the Customer Portal
Stripe has a hosted Customer Portal where users can update their card, view invoices, and cancel. Turn it on in Stripe's settings, then ask Lovable for a small function that creates a portal session for the logged in user. Add a "Manage billing" link in your settings page. This saves you from building any billing screens yourself.
Step 9: Test everything in test mode
Use Stripe's test card 4242 4242 4242 4242 with any future date and any CVC. Then run through this list:
- New user upgrades, lands on the success page, and gets access within a few seconds
- The subscriptions row shows the right status and period end
- Canceling in the Customer Portal updates the status
- A failed payment card (Stripe lists test cards for declines) does not grant access
- User B cannot see User A's subscription row
- The webhook logs in Stripe show successful deliveries, not errors
If access does not show up after payment, the webhook is almost always the reason. Check the delivery logs in Stripe first. They show the exact response your function returned.
Step 10: Go live
When everything passes in test mode:
- Activate your Stripe account (business details and bank account).
- Recreate the product and price in live mode. Test and live are separate.
- Swap in the live secret key, live price ID, and a new live webhook signing secret.
- Make one real purchase yourself, then refund it.
That last step catches the mistakes that only show up with live keys, like a webhook still pointed at the test endpoint.
If you want to go deeper on subscriptions, trials, and upgrades between plans, the Stripe Payments course covers each one with a working example.
What would have made it better?