
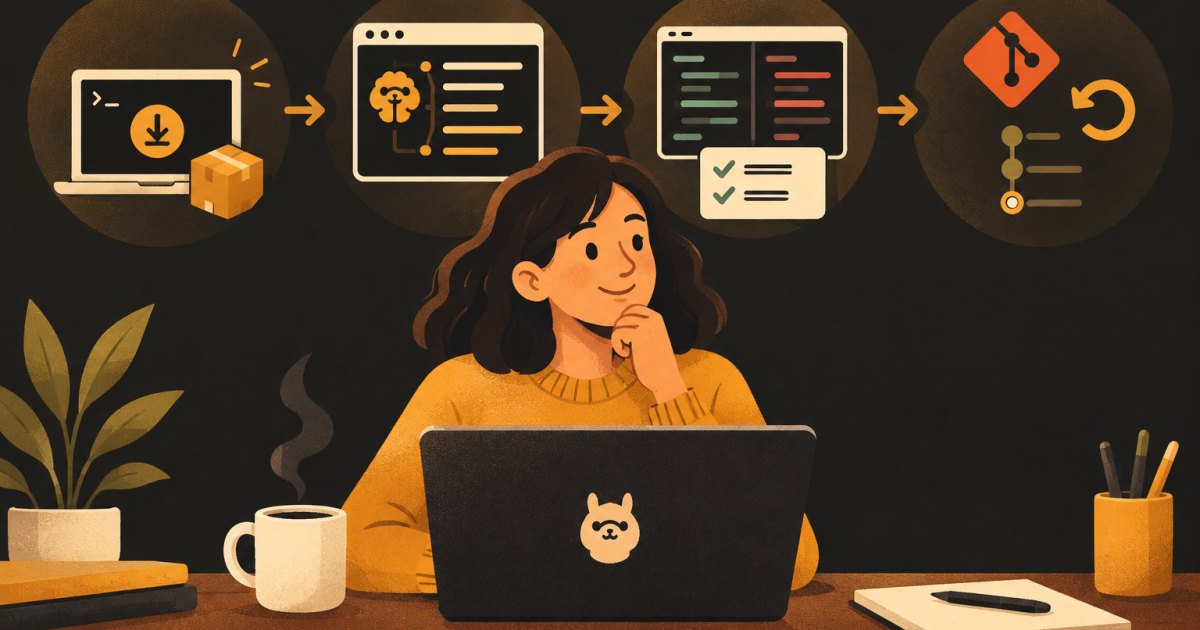
This post is for people who have never coded and want to try Claude Code for the first time. You do not need to understand programming. You do need to be willing to read what Claude plans to do before it does it. That one habit separates the people who get real apps out of this tool from the people who end up with a folder full of mystery files.
We will install Claude Code, run a first session the safe way, review changes, and set up git so you can undo anything.
Before you start
- A paid plan. Claude Code needs a Pro, Max, Team or Enterprise plan, or an API account through the Console. The free plan does not include it.
- A supported computer. Recent macOS, Windows 10 or later, or a common Linux distribution.
- Git. This is the free tool that keeps a history of your project. On a Mac, typing
gitin Terminal will offer to install it if it is missing. On Windows, install Git for Windows. Claude Code also uses it on Windows to run commands.
Step 1: Install Claude Code
You have two options.
No terminal: install the Claude desktop app and open the Code tab. You choose a folder on your computer and work with buttons and a diff view. The desktop app includes Claude Code, so there is nothing else to install.
Terminal: open Terminal (Mac) or PowerShell (Windows) and paste the official install command. On Mac or Linux it is:
curl -fsSL https://claude.ai/install.sh | bashOn Windows PowerShell it is:
irm https://claude.ai/install.ps1 | iexOpen a new terminal window and run claude --version. If you see a version number, it worked. If not, the official setup page has fixes for the common errors. The rest of this post uses the terminal, but every idea applies to the desktop app too.
Step 2: Make a project folder and save a starting point
Create an empty folder for your project and open a terminal inside it. Then run these three lines once:
git init
git add -A
git commit -m "Empty starting point" --allow-empty
You just created your first save point. Every time something works, you will make another one. If git asks for your name and email the first time, it will print the exact commands to set them. Copy those, then try the commit again.
Now start Claude Code:
claudeThe first time, it opens your browser so you can sign in.
Step 3: Switch to plan mode before asking for anything
Claude Code has permission modes that control how much it can do without asking. Recent versions often start in auto mode, where a background safety check approves most actions for you. That is convenient for experienced users. For your first project, I want you in control.
Press Shift+Tab to cycle modes and watch the status line at the bottom. From auto, the cycle goes to Manual (asks before every edit and command), then accept edits, then plan mode. Stop on plan mode.
In plan mode, Claude reads and thinks but cannot change files. It writes a plan and waits for you. You can also start a session directly in plan mode with claude --permission-mode plan, or put /plan in front of a single message.
Step 4: Ask for a plan, not a product
Keep your first project tiny. A personal habit tracker, a tip calculator, a one-page site for a side business. Here is a prompt you can copy:
I am not a developer. I want to build a simple web page that
tracks daily habits. It runs only in my browser for now, no
login and no database.

Before writing any code:
1. Ask me any questions you need answered.
2. Then propose a plan in plain English: what files you will
   create, what each one does, and how I will open it to test.
3. Keep it to the smallest version that works.
Answer its questions. Read the plan. If something confuses you, ask. "What is a package.json and why do I need one?" is a perfectly good question. If the plan is too big, say so: "Cut this down to one file."
When the plan looks right, Claude offers a few choices. For your first project, pick the one that says you will manually approve edits. That way you see each change before it happens. You can press Ctrl+G to open the plan in a text editor and change it yourself before approving.
Step 5: Review changes like an editor, not a coder
You will see each proposed change as a diff: lines being removed and lines being added. You do not need to understand every line. Check these things instead:
- Is it touching the files the plan said it would? A surprise file is worth asking about.
- Does it match what you asked for? If you said "no database" and you see database code, stop.
- Is it trying to run a command you do not understand? Ask "What does this command do and why do you need it?" before approving.
If Claude goes off track, press Esc to stop it. Your conversation stays, and you can redirect.
When it is done, ask Claude how to test it, then actually test it. Open the page. Click everything. If it breaks, paste what you see back into Claude.
Step 6: Use git as your undo button
When something works, save it:
git add -A
git commit -m "Habit list shows and saves items"
You can also ask Claude: "Commit this with a short message describing what changed." It knows how.
When something breaks after a working save point, these are the commands I teach first:
git status          # what changed since my last save
git diff            # show me the exact changes
git restore .       # throw away changes to files that were saved before
git log --oneline   # list my save points
One thing to know: git restore . does not delete brand new files Claude created since your last commit. git status lists them as untracked. If you want them gone, ask Claude to remove them and confirm the list first.
Checkpoints: the undo inside the session
Claude Code also saves a checkpoint before every prompt you send. Press Esc twice with an empty input box, or type /rewind, and you can roll back the code, the conversation or both to an earlier message.
Checkpoints are great for "that last change was a mistake." They are not a replacement for git. They mostly track edits Claude made with its file tools, and a file changed only by a shell command is not tracked. The checkpointing docs list the limits. Use both: checkpoints for quick undo, git commits for save points you trust.
Habits that keep your first project clean
- One task per session. When you switch to something unrelated, type
/clearto start fresh. Long, messy sessions make Claude worse. - Commit after every working step. Small save points mean small, easy undos.
- If you have corrected the same thing twice, start over. Clear the session and write a better first prompt that includes what you learned.
- Ask for evidence. "Show me how you tested this" beats "it should work now."
- Stay in plan mode for anything bigger than a small fix. The official best practices guide recommends exploring, then planning, then coding for exactly this reason.
What to build second
Once your first tiny project works, add one real thing at a time. Saving data in the browser. Then a login. Then a database. Each step gets its own plan, its own review and its own commit. That rhythm is most of what I teach, and it works the same whether your app has one page or fifty.
Where to go next
The free Intro to Vibe Coding course on the Courses page walks through this same first-session flow on video. If you want feedback on your plans while you build, a cohort gives you live office hours with me.
What would have made it better?